Introduction
So you want to create a blog but not sure where to start? You’re not sure if you’ll like blogging or if it will be successful and as such you start looking at how to do it for free. Through searching you find a number of free options like wix, wordpress, blogger and weebly. Sure, those sites will allow you to get started for free, but they limit you with things like having ads, limited bandwidth and storage, and not being able to fully customize everthing you want. You could use an open source software like wordpress.org, but to do so you’ll need your site hosted which will have fees associated with it.
If you want freedom & flexibility without the hosting fees, you’ll need an alternative. That’s what this blog post will cover.
Requirements
There are a few things that will be needed:
- Backend Repository to house the code - Either GitHub or GitLab will work great.
- Software to edit the code - Visual Studio Code
- Software to help manage the repositories - GitHub Desktop.
- A Static Site Generator (SSG)- There are a lot of options available, but I would suggest either Hexo, Jekyll, Gatsby or Hugo.
- Basic knolwedge of Markdown, Git and VSCode are a plus.
Overview
Before I jump into setting things up and getting started, here’s an overview of what we will be building:
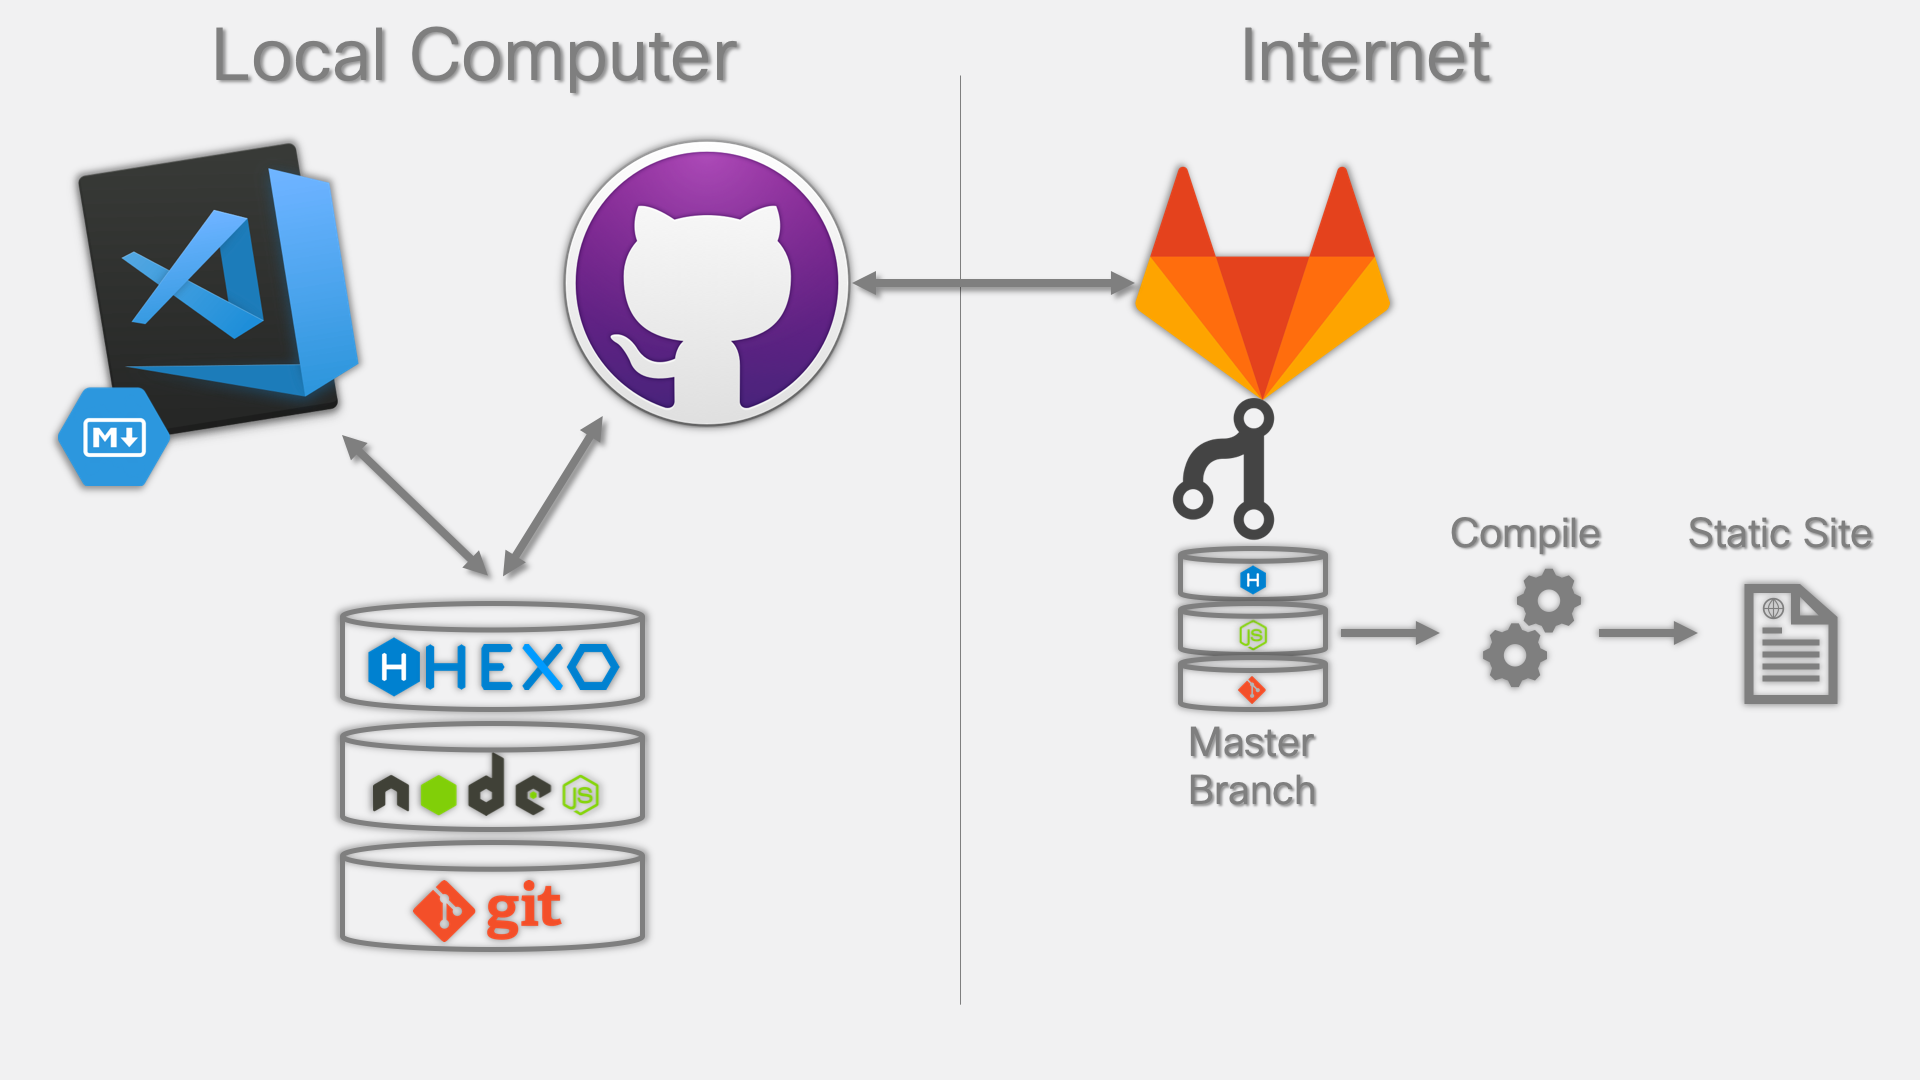
For this tutorial, we are going to use Hexo for our Static Site Generator and GitLab Pages to host our Static Site.
What is Hexo?
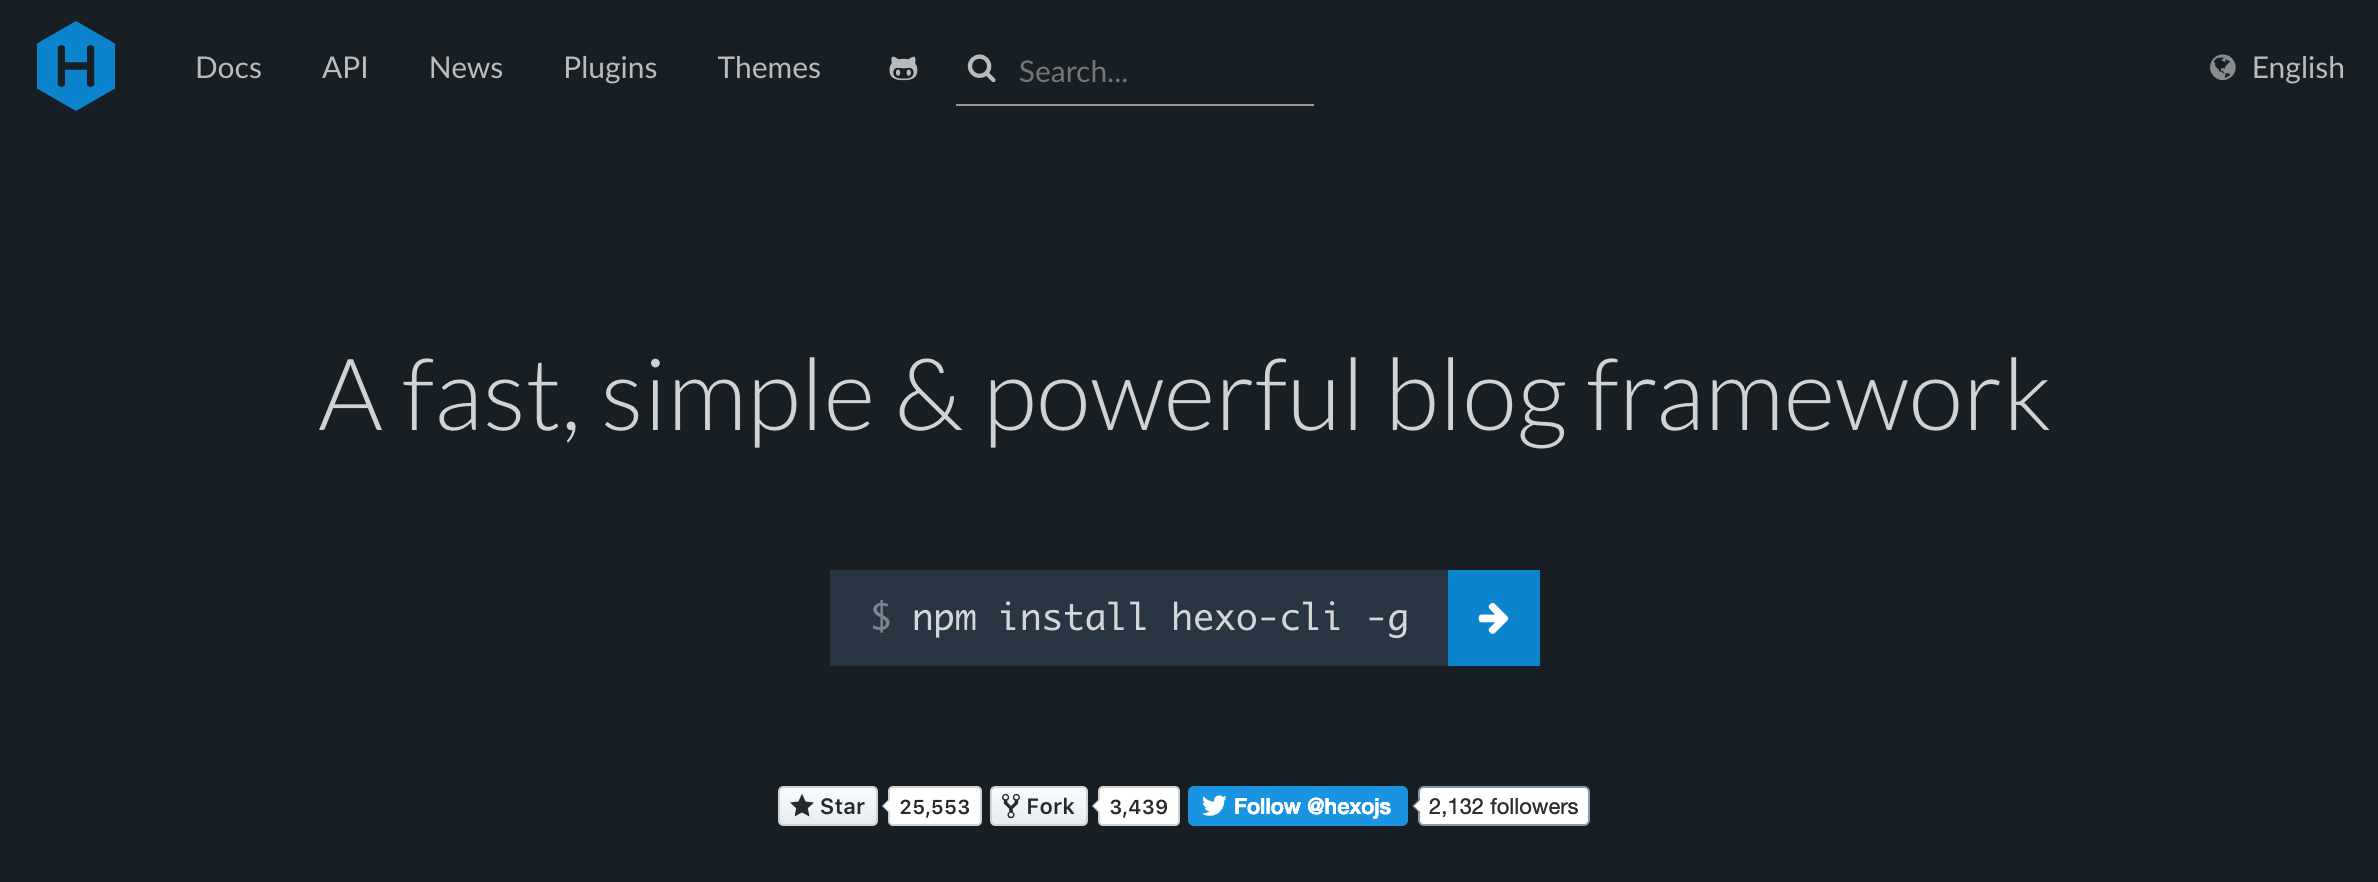
Hexo is a fast, simple and powerful blog framework. You write posts in Markdown (or other languages) and Hexo generates static files with a beautiful theme in seconds.
Hexo is a tool designed with Node.js to quickly and easily build blog platforms.
What is GitLab Pages?
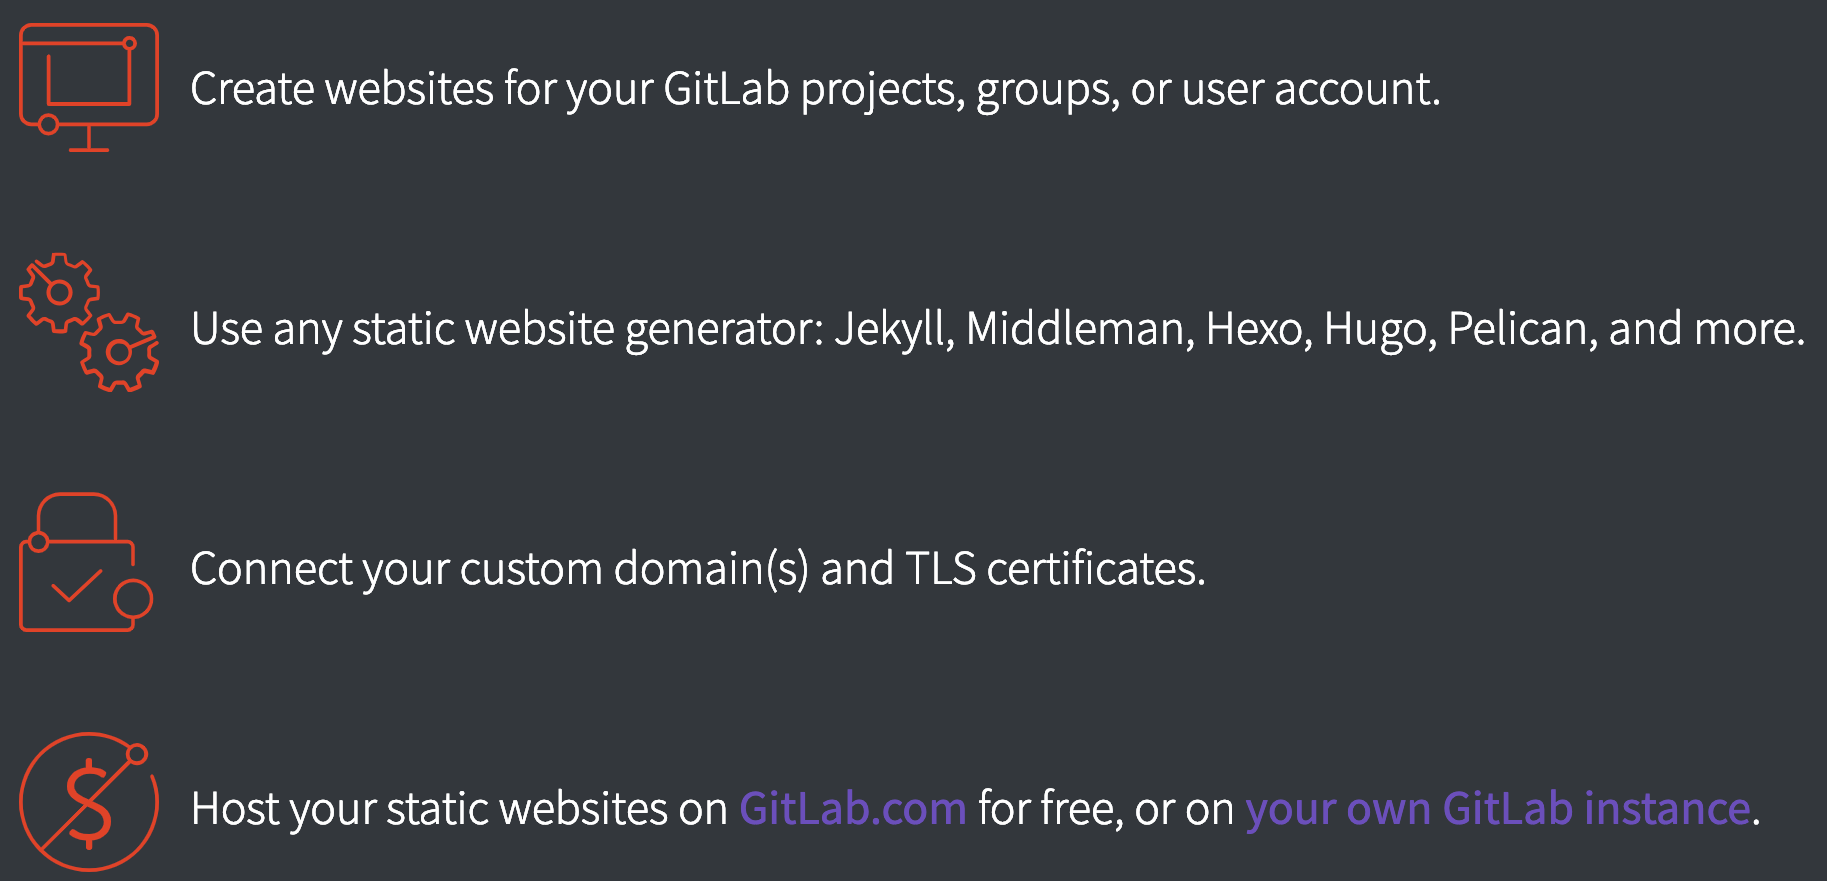
GitLab will not only house our code but by using GitLab Pages, it will also be the host for our Static Site.
Setup
Let’s break this down into two parts; Setting up the Static Site Locally & Deploying to GitLab.
As mentioned, we are going to use Hexo as our Static Site Generator. Before installing it though, we need to make sure that both Git and Node.js are installed. In order to check this, open a command prompt/terminal window and type the following:
git --versionnode -vIf successful, you will see a version number returned for each command telling you what version of Git and Node.js are installed. If this is not successfull, you’ll need to do the following:
After you have successfully installed these, you can proceed to install Hexo by typing the following in your command prompt/terminal window:
npm install -g hexo-cliNext up, we are going to create the blog site. To do this, simply type the following in your command prompt/terminal window:
hexo init hexotutorial
cd hexotutorial
npm install
Once that is finished, go ahead and type:
hexo serveIf everything was successfull, you should see something like this:
INFO  Start processing
INFO  Hexo is running at http://localhost:4000 . Press Ctrl+C to stop.
At this point, open your favorite web browser and go to http://localhost:4000. Pending no issues, you should see your new blog site and it should look something like this:
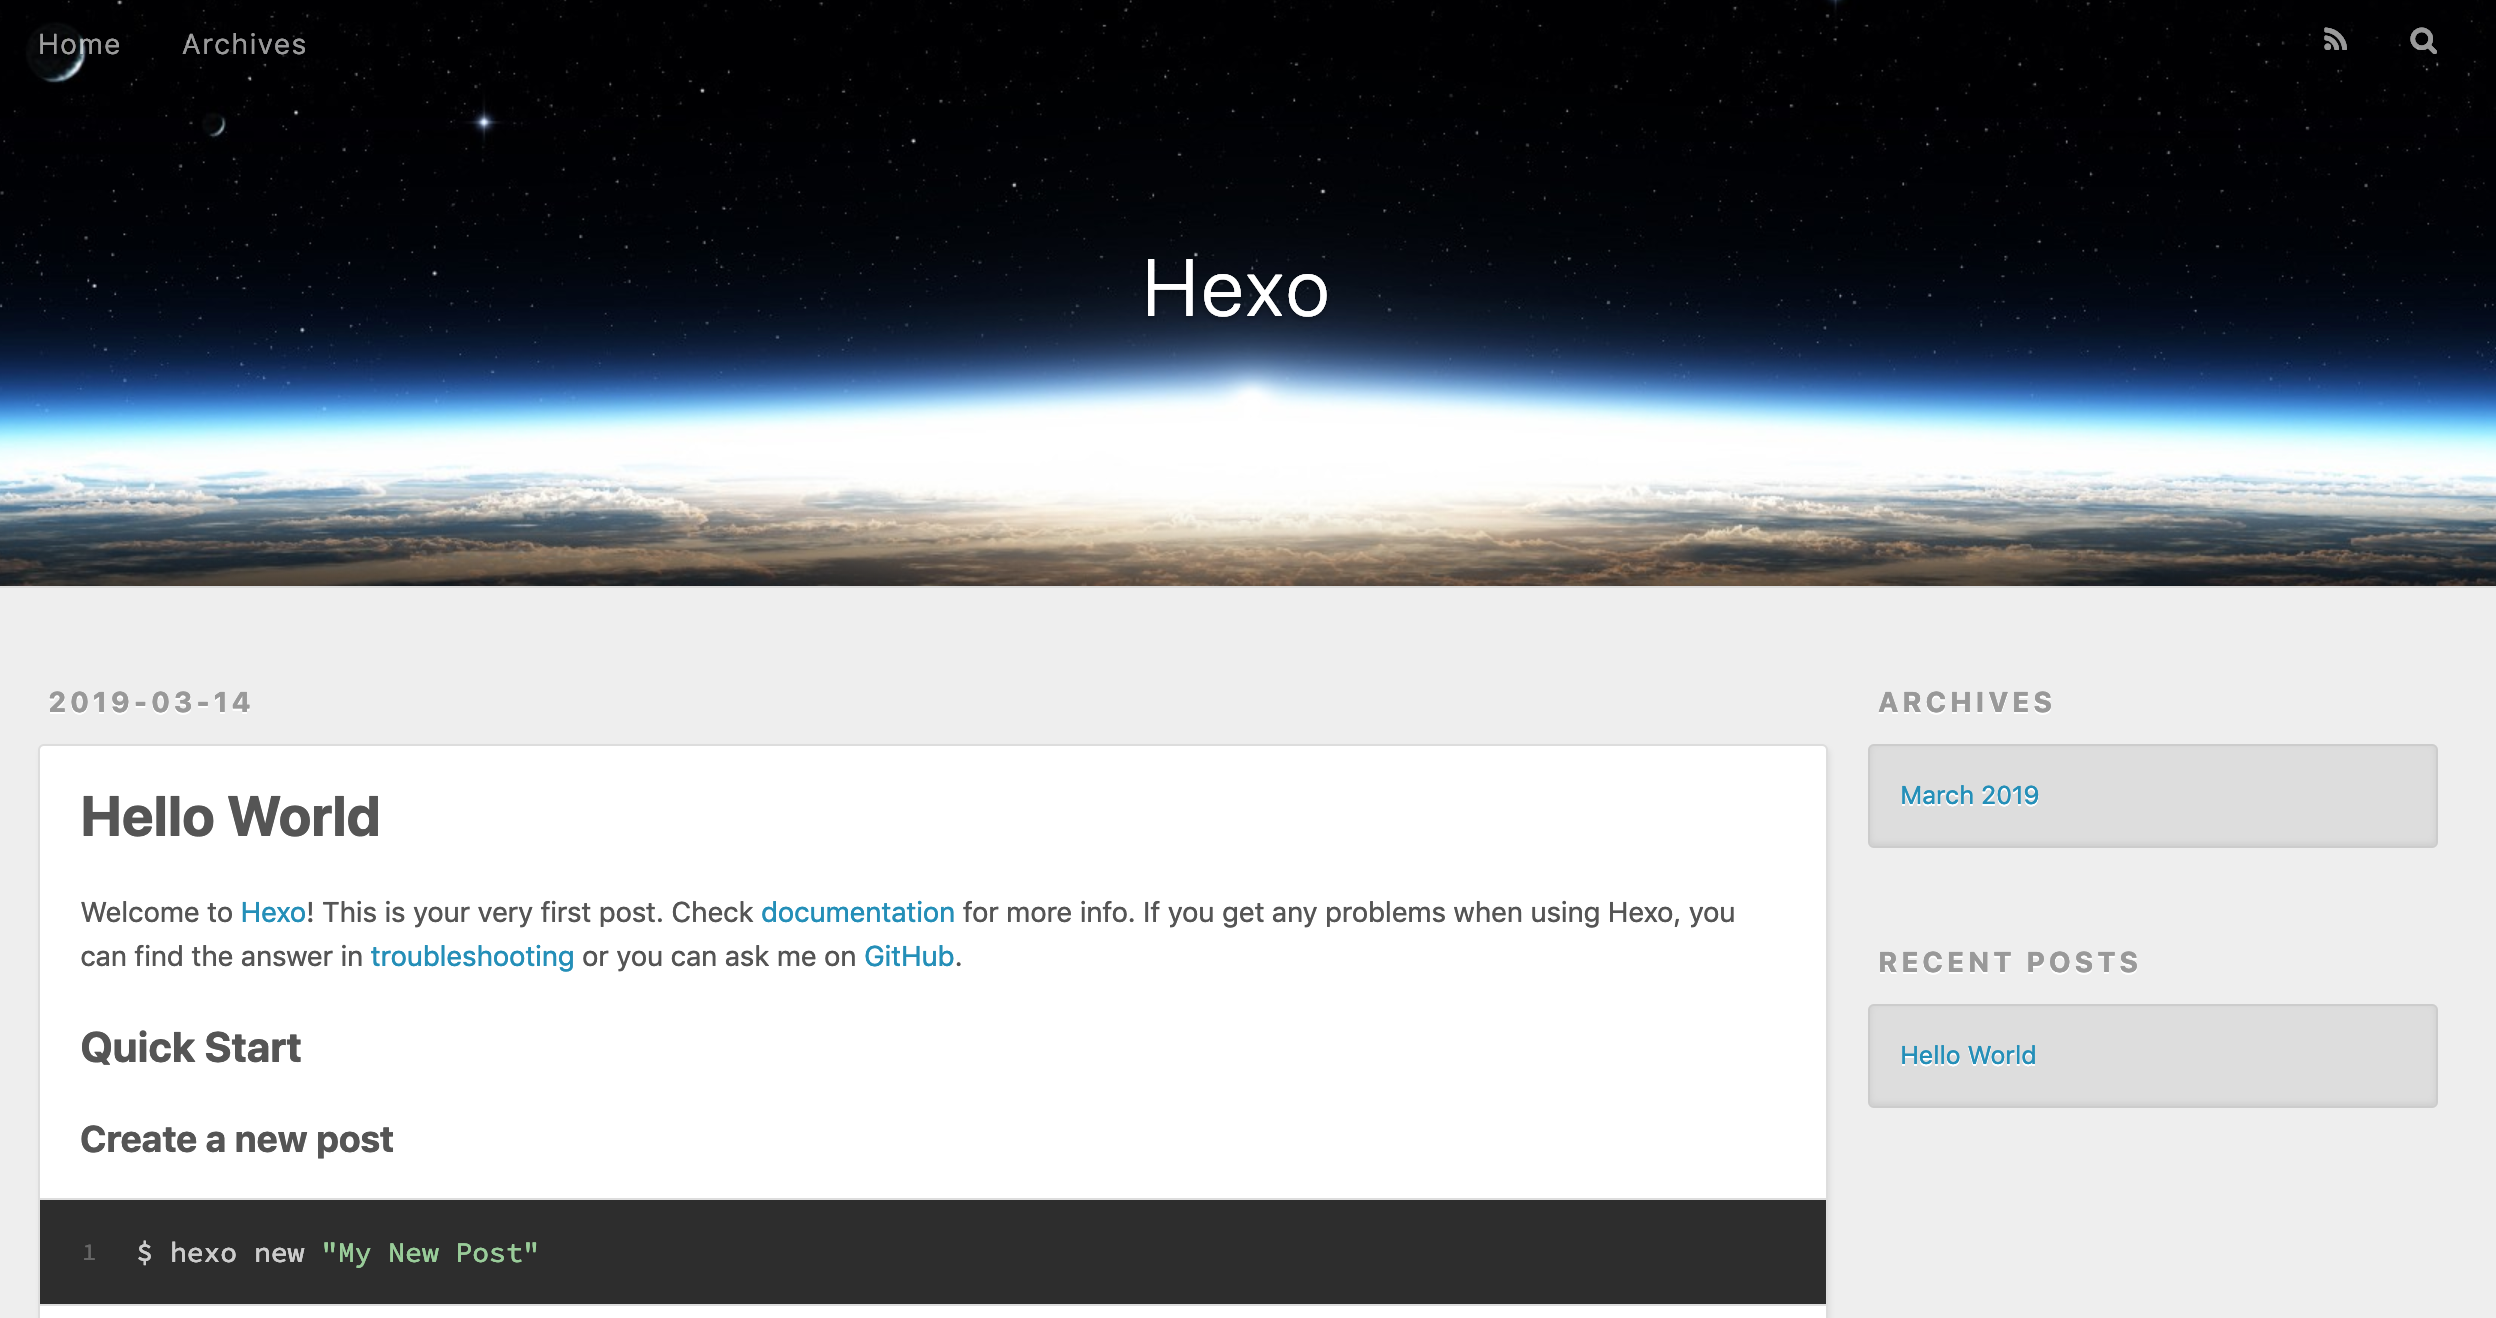
Congratulations! You have successfully setup your blog site locally! Before we jump into the next section, I would highly encourage you do a few things:
- Take some time to read up on the Hexo Documentation. This tutorial isn’t going to cover the ins and outs of how to use hexo, write posts, install themes, etc. There is excellent documentation on this already provided by Hexo.
- Install Visual Studio Code. Once installed, use this to open your blog site and edit the contents of it.
- Get your site built and working locally as much as you can. Play around, have fun learning and exploring. If you mess up, start over. It is all part of the experience.
Now that you have your site setup locally, let’s get it moved over to GitLab. The first thing you need to do is head over to GitLab and sign up for an account. Once that is done and you are logged in, you need to create an SSH Key.
SSH keys allow you to establish a secure connection between your computer and GitLab.
Start by Generating a new SSH key pair by following the instructions here. Once you have done this, you’ll want to copy your public SSH key to the clipboard by using one of the commands below depending on your Operating System:
macOS:
pbcopy < ~/.ssh/id_ed25519.pubWSL / GNU/Linux (requires the xclip package):
xclip -sel clip < ~/.ssh/id_ed25519.pubGit Bash on Windows:
cat ~/.ssh/id_ed25519.pub | clipNext, click on your profile picture in the upper right and choose settings. Then, navigate down the left side of the screen to SSH Keys (or click that link). Paste the public SSH key into the “Key” box, provide a “Title” and then hit Add Key.
Now that you have your SSH key setup, the next thing to do is to create a project. In the top left of your browser window you will see the GitLab Logo. Click this and it will take you to your Dashboard. Next, click “New Project” in the upper right. For the purpose of this tutorial, you are going to create a Blank Project. There are several things to fill out:
-
Project Name - For this, you are going to put in username.gitlab.io but replace username with your GitLab username.
-
Project URL - This should be left at default.
-
Project Slug - This should auto populate with your project name.
-
Project Description - Optional, but feel free to fill it out if you want.
-
Visibility Level - Leave this as Private.
When all is said and done, yours should look something like this (but with your username of course):

Once you have all of that filled out, click create project. You will then be redirected to your project page which has important information on it that you will need for the next steps.
The next thing you need to do is configure your Git Global Setup. To do so, run the following commands:
git config --global user.name "GitLab Full Name"
git config --global user.email "GitLab Email"
Replace “GitLab Full Name” with your Full Name as it is setup on GitLab and “GitLab Email” with the email address you setup on GitLab (be sure to leave the quotation marks). If you need help, you will find the exact commands you need to run on your project deatils page. At this point, you could techincally enter a few more commands and push your site to GitLab, but there is one more thing we are going to setup up first.
One of the great things about GitLab is that it offers a Continuous Integration (CI) service. By simply adding a .gitlab-ci.yml file to the root directory of your repository and configuring your GitLab project to use a Runner, each commit or push will then trigger your CI pipeline.
Using whatever method you would like (I would suggest VSCode), create a new file in the root directory of your site folder called .gitlab-ci.yml. In the case of this tutorial, you would be creating the file inside of the folder called hexotutorial. Inside of the .gitlab-ci.yml file, put the following and then save it:
image: node:8.11.2

pages:
  cache:
    paths:
    - node_modules/

  script:
  - npm install hexo-cli -g
  - npm install
  - hexo generate

  artifacts:
    paths:
    - public
  only:
  - master
The next step that needs done is setting up Runners. While you can setup a specific Runner, another benefit to GitLab is that it allows you to use shared Runners.
Shared Runners on GitLab.com run in autoscale mode and are powered by Google Cloud Platform. Autoscaling means reduced wait times to spin up builds, and isolated VMs for each project, thus maximizing security.
They’re free to use for public open source projects and limited to 2000 CI minutes per month per group for private projects.
For most blogs, using these shared Runners should be fine. In order to make sure this is enabled, on the left side of your browser window click on Settings>CI/CD and then click the Expand Button under Runners. If you see a button that says “Disable shared Runners” then you are all set. If you see a button that says “Enable shared Runners” go ahead and click it.
You are now ready to deploy your site to GitLab by following these steps:
- Navigate back to your Project Details page in your browser window (left side, Project>Deatils).
- On this page, look for the “Existing folder” commands.
- Open a command prompt/terminal window and run the commands that are shown under “Existing folder”
If everything was successful you should see something similar to the following:
Chriss-MacBook-Pro:hexotutorial ccapasso$ git push -u origin master
Enumerating objects: 116, done.
Counting objects: 100% (116/116), done.
Delta compression using up to 8 threads.
Compressing objects: 100% (106/106), done.
Writing objects: 100% (116/116), 589.42 KiB | 9.66 MiB/s, done.
Total 116 (delta 0), reused 0 (delta 0)
To gitlab.com:ccapasso/ccapasso.gitlab.io.git
* [new branch] master -> master
Branch 'master' set up to track remote branch 'master' from 'origin'.
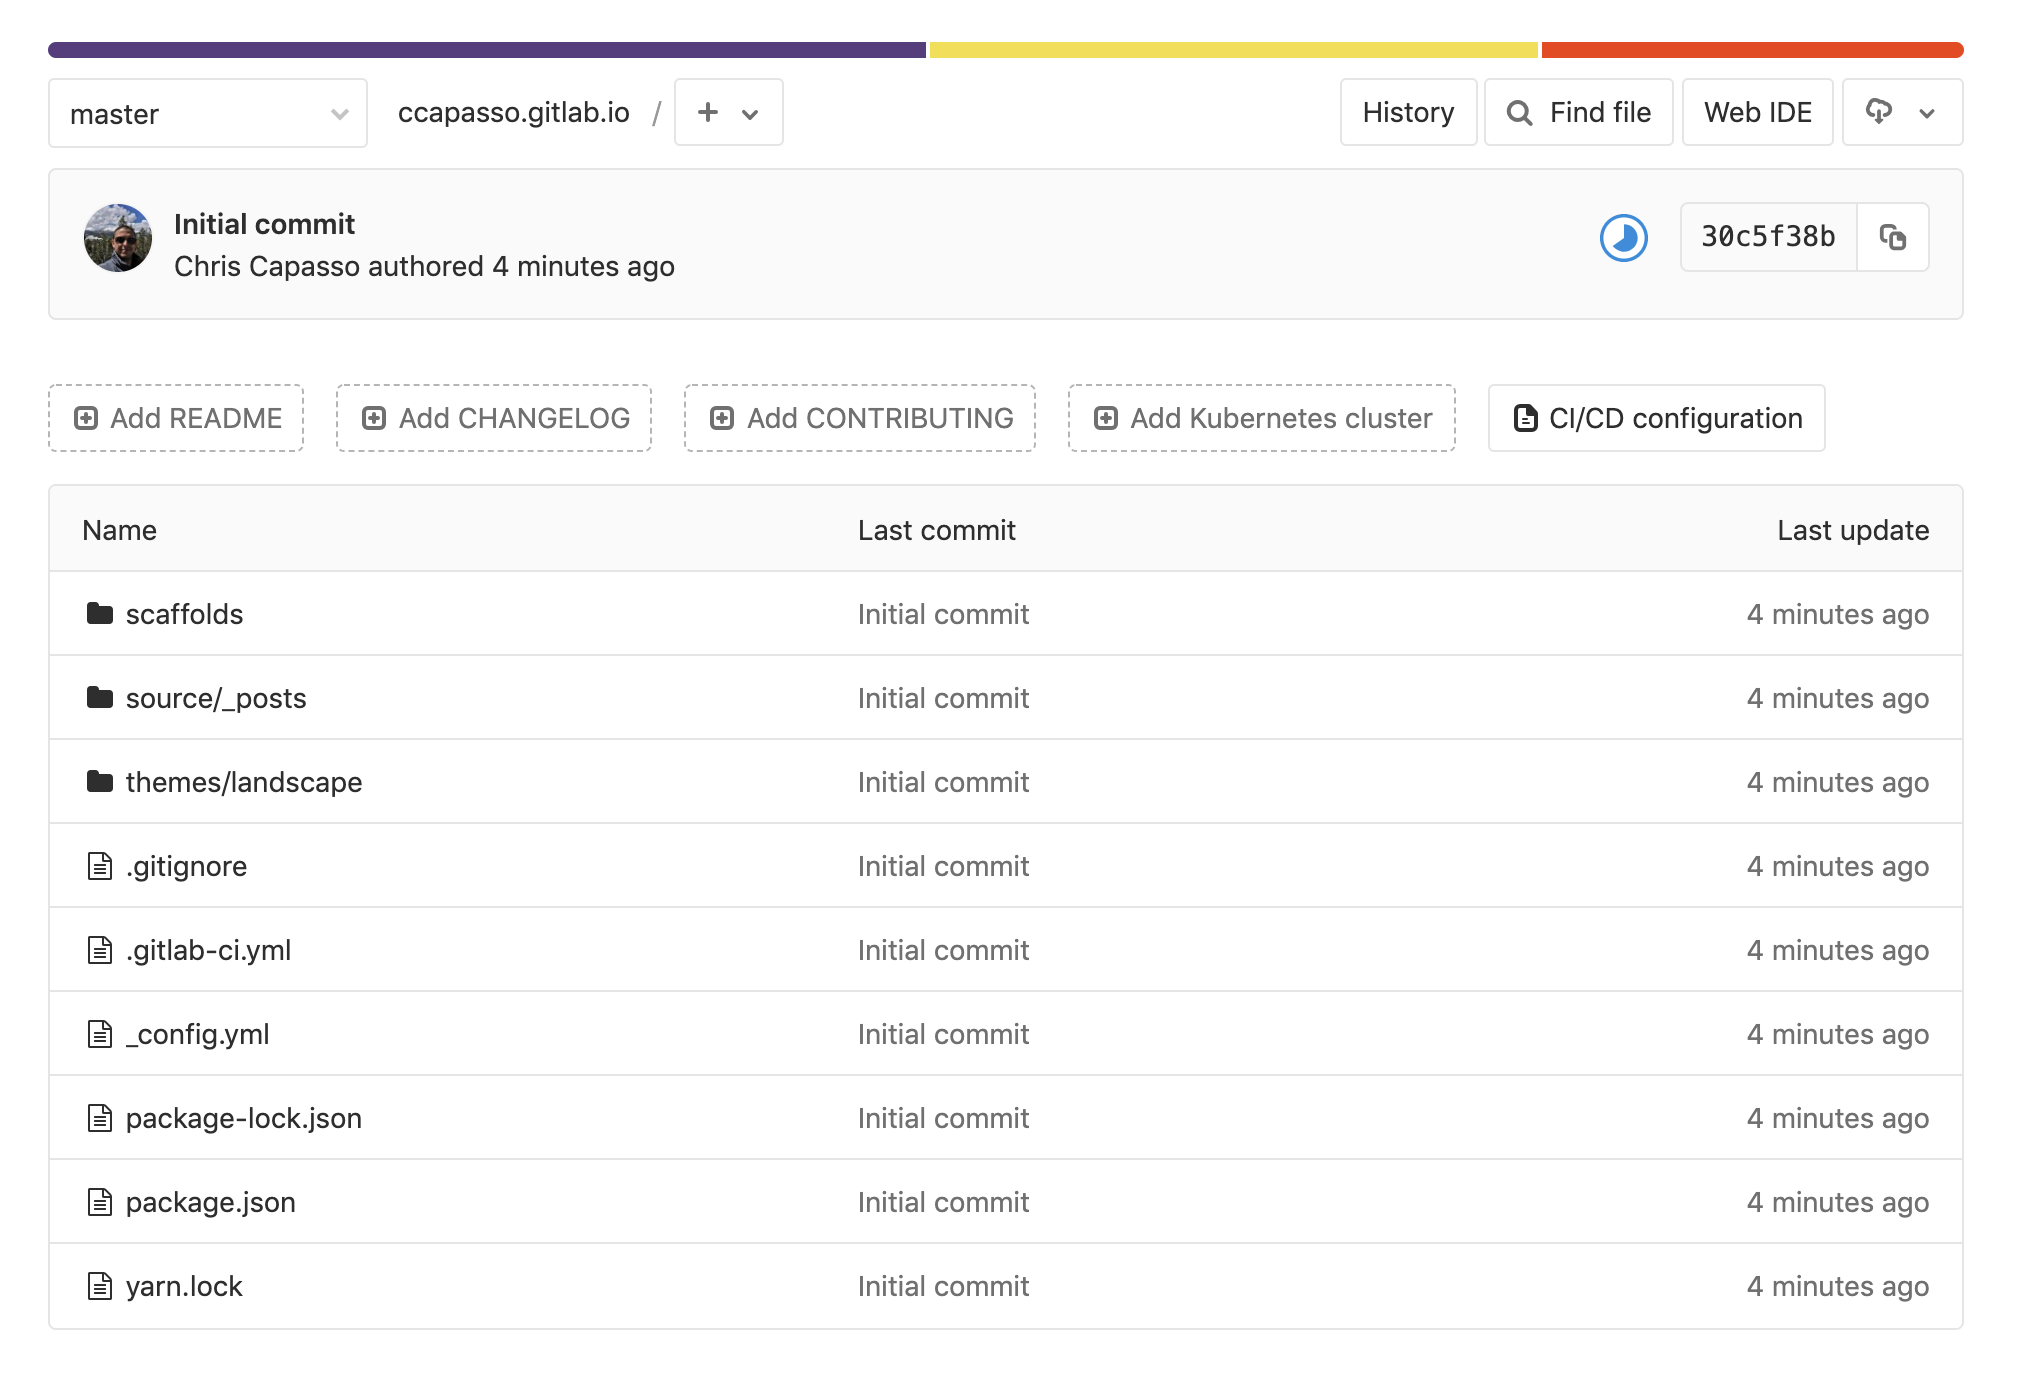
Chriss-MacBook-Pro:hexotutorial ccapasso$ Go ahead and refresh your Project Details page and you should now see that the folders and files from your computer are now in your repository on GitLab. It should look something like this:
As long as things went as they should, your site should now be live on https://yourusername.gitlab.io/. It may take some time for it to be live, but keep checking back if it isn’t available right away. If you want to make sure there were no errors, on the left side of your browser window navigate to CI/CD>Pipelines. This page will show you all of your Pipelines that have been ran as well as the status of them (Passed/Failed/Pending/etc). You can click on the status of each Pipeline to view the stages and details. As long as you see passed, then everything should be good.
Congratulations! You have successfully deployed your blog site to GitLab!
If you were never going to make any changes or updates or publish any blog posts, you could stop now and be done. Chances are though, that is the not the case. As such, let’s get you setup to easily push and pull from GitLab.
- If you haven’t already done so, please download and install GitHub Desktop. Once installed, please launch the application. Make sure to setup your name and email under the “Git” settings/preferences so that they match your GitLab info.
- Choose Add>Add Existing Repository…
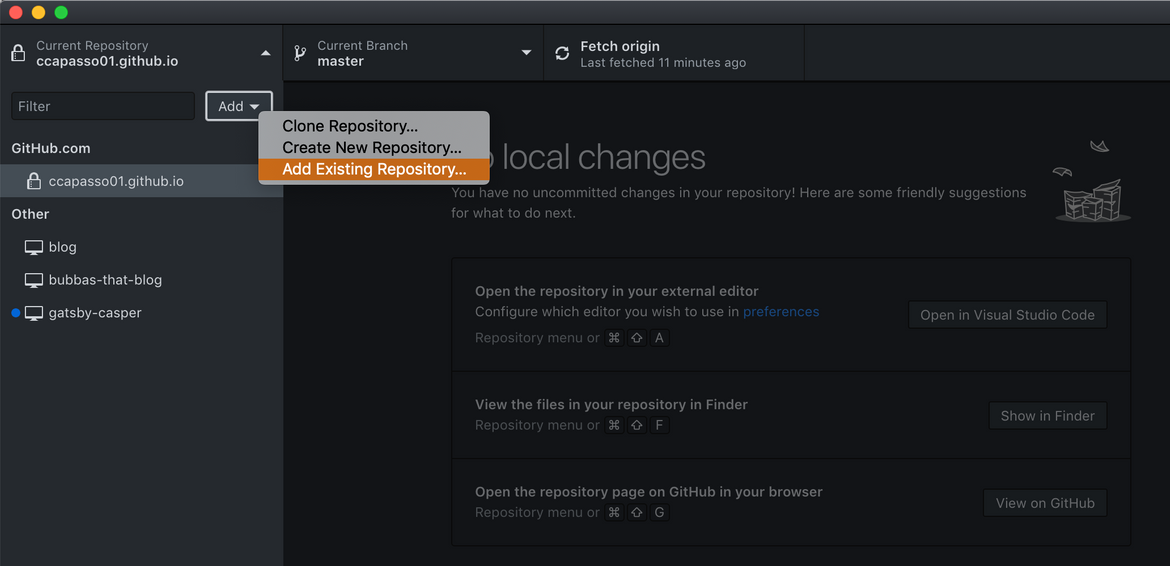
- On the next window, click choose, select your blog site folder (hexotutorial in this tutorial), then click Add Repository.
- At the top of the window, click Fetch Origin. This will make sure that any changes that have been made to the GitLab repository will sync to your local comptuer.
- Open your project in VSCode and make a change to a file to test things. For example, open _config.yml and modify the title from Hexo to Hexo Test and save.
- Switch back to GitHub Desktop and you should now see that there is one changed file that is ready to be pushed to GitLab.
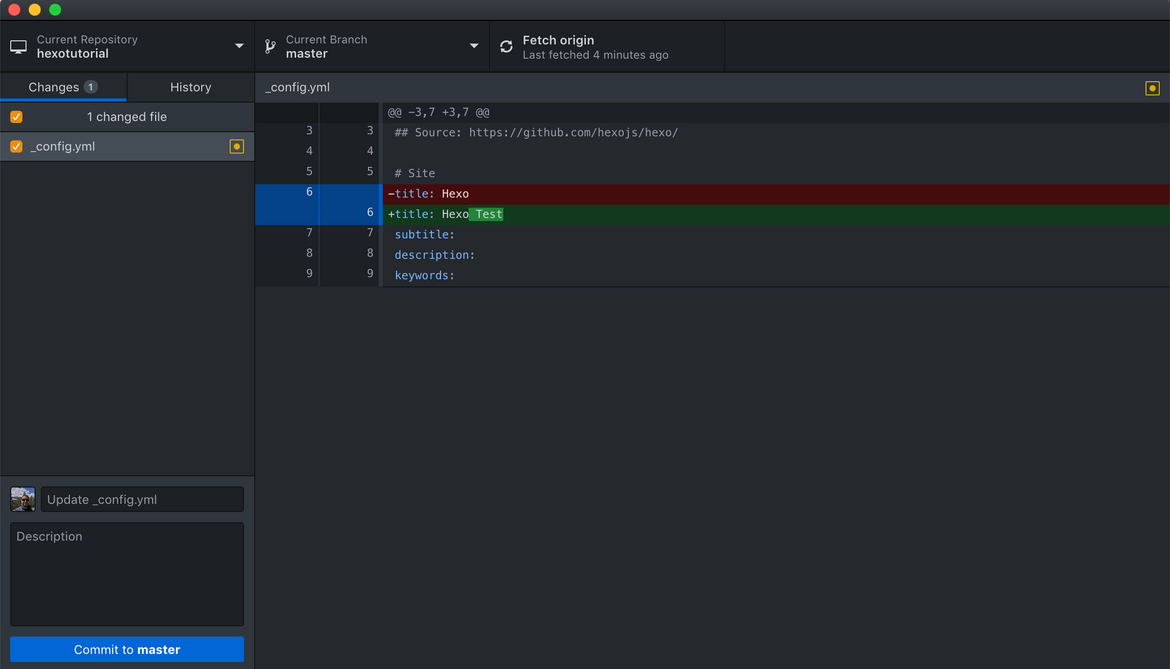
- Click Commit to master then Push origin.


The changes you made are now being pushed to GitLab which will trigger your CI Pipeline to run and after a short bit, your changes will be live. If you want to check, go back to https://yourusername.gitlab.io/ and you should see your changes reflected there.
Recap
Now that everything is setup, let’s recap what we’ve done and how it works:
- It all started with picking a Static Site Generator (Hexo in this case) and installing it locally.
- Using Visual Studio Code you can edit your site content locally on your computer.
- GitHub Desktop is used to sync between the local repository and the GitLab repository.
- Once changes are pushed to GitLab, the CI Pipeline will run.
- The code inside the .gitlab-ci.yml file will execute which will compile your data and publish your Static Site.
And with that, we’ve come to the end of this tutorial. There are additional things that can be done like setting up a Custom Domain or using a Content Management System, but that will be another blog post/tutorial.
Thank you for reading.